Monday 23 February 2015

Scrapmatts DT Cards

I have had this blog post half done since the 16th but never got around to finishing it. :( As well as the tutorial for the layout I published on the 16th I also completed these two cards as part of my Scrapmatts DT work.
 
This first one was created for my husband's boss and is actually 6" x 9" so all the people in their department had room to write in it. It features the new 'Happy Birthday' chipboard and a scroll in gold embossing.
 
 
I also whipped up a quick valentines day card for my husband. How cute is the little cupid chipboard? Scroll and arrow charm are both from Scrapmatts too. Floral lace heart die cut is from Couture Creations.


Sunday 22 February 2015

Merimbula 1999

I was lucky enough to be the random winner at D-lish Scraps last month and received a February 'Just Add Paper' pack. I had been looking at these packs for a few months but hadn't purchased one previously. This pack was fantastic, especially for someone like me who has trouble getting the extra embellishments down. Anyway, the Feb mood board and matching pack was beach themed with lots of this beautiful blue colour. I went through my old photos and came across these two from a family holiday 15 years ago.
 
 
It's funny what you remember when looking back at holidays from a long time ago. I remember we listed to the Melbourne Storm win a grand final on the radio while we were driving there. I remember we stayed in a weird shaped unit because I randomly stabbed my finger at the page in the accommodation book during a teenaged hissy fit when dad was booking it. I remember even then I wasn't really a beach person so while the rest of my family went in the water I stayed on the sand and built a sand castle.

 
The kitwas fantastic and I really didn't need to add much to it. I washed the cardstock with Dylusions ink, used some Kaiserkraft Sandy Toes paper to mat the photos on, threw on a silver embossed Scrapmatts chipboard starfish (love the way the detail still comes through the embossing), the silver washi tape and the aphas. Here is the mood board:
 

Friday 20 February 2015

Live Love Card - Couture Creations

Welcome back! How funky is the Everyday Essentials range of dies? They are so versatile. Today I've used the 2 Tags and Bird Branch set to create this card.
 
 
1/ Pick three sheets of patterned paper to be your background mat. Cut the largest to 6" x 4" and the next two each slightly smaller than that.
2/ Using a sponge dauber, apply some brown ink through a stencil onto the smallest mat. Ink all the edges of the three sheets in brown ink and distress the edges. Use double sided tape to stick them together.
3/ Cut one of the larger tag dies and cut that in half long ways. Ink the edges in brown.
4/ Cut the smaller tag die in a neutral colour and ink edges in brown. Mount this on some spare cardboard so it will be raised.
5/ Cut the bird from green paper.
6/ Cut a banner shape from red paper. Cut the two sentiments from patterned paper.
7/ Adhere the banner strip first, then slide the two halves of the large tag just under the edges and stick down.
8/ Adhere a length of ribbon down the centre of the banner. Adhere the sentiments over the ribbon to help keep it in place.
9/ Adhere the bird branch to the small tag and then the small tag to the centre of the card.
10/ Apply pearls as in the photo and you're done!
 
Couture Creations Materials List:
CO724134 Everyday Essentials, 2 Tags & Bird Branch die


http://lozcraft.blogspot.com
 

Wednesday 18 February 2015

Birds of the Alphabet: G-H-I ATCs

Third round of the Birds of the Alphabet ATC swap over at ATCsForAll.com. I stuck with acrylic paints. Pretty happy with the birds, need to be a bit less lazy with the backgrounds I think.
 
Gouldian Finch

Horsfield's Bronze-Cuckoo

Island Thrush

Monday 16 February 2015

Happy Together - Scrapmatts DT

Mixed media is not new to scrapbooking by any means and it is a technique which I really enjoy for the opportunity to get messy and just keep layering. Scrapmatts has recently released a range of mesh chipboard pieces which are perfect to use on mixed media pieces. I have used the larger circle mesh (CB5130 Circle Mesh 03) on this layout and created a tutorial if you want to create a similar layout.
 
 
Photos for steps 1-4 are at the bottom of that set of instructions.
1/ Take a piece of cardboard/chipboard and start laying down materials for your background. You can see I have cut part of my mesh into three pieces and positioned them around where I planned to place my photo. I pushed all the circle pieces out of my mesh and put them aside. I have also added some book page strips, builders tape and texture paste through a matching stencil.
2/ Cover the entire background and spare circles in 2-3 coats of gesso. You want to make each background material absorb the next layer at the same intensity to get an even colour. Make sure you let each layer dry between coats.
3/ Using spray inks and water, colour your background and spare circles. I started by spritzing the whole thing with water, then used one purple and two blue inks to add colour. I again spritzed with water to re-activate the inks and then flicked some purple ink around the place for a more intense colour.
4/ I had hoped some ink pooling would highlight the different texture of the background but it didn't work. Instead, I took a bronze ink pad and rubbed it over all the raised areas to highlight them.
 
 
5/ Once the ink is dry, cover your spare circles with dimensional magic and set aside to dry fully.
6/ Pretty up your background, how you go about this is up to you. I placed some washi tape strips around the photo area and edges of the page, then rubbed gesso over them with my finger to blend them into the background better. I stamped some bubble wrap circles in white acrylic ink randomly over the background. I used spray adhesive to stick down two lengths of balled up thread. Lastly, I used a script stamp to create a border around the edges of my layout.
 
 
6/ Add your embellishments and title. For this layout that involved scattering the spare circles and some sequins from top right to bottom left corner of the layout. I also added two charms (CH019 Lock #2) to the layout, one at the title and one at the bottom right of the photo just after the date. My title is a Kaisercraft sticker and a piece from CB1189 Scrap Words 01.
 
 
There you go, an easy mixed media layout in just six steps! Show us what you create with the new mesh by sharing in the gallery.

Thursday 12 February 2015

My Breastfeeding Journey

This blog post isn’t sharing my crafty creations like usual, this post is about celebrating a personal milestone. Harrison was six months old on the 5th of February and this meant we had joined the 15% of Australian mothers who exclusively breastfed their baby at the 6 month mark. I’m looking forward to commencing baby led weaning once he can sit unassisted but I also wanted to take a look back at the challenges we faced prior to getting to this point. It’s a bit of a novel, sorry.
 
 
Like everyone, my breastfeeding journey started well before Harrison’s birth. My mother breastfed myself and my two siblings, my brother is 5 years younger than me so I can remember watching this occur so to me this was the natural way to feed babies. Two of my close friends had babies before me and I know they had conversations about the difficulties of breastfeeding and pumping but to be honest I didn’t really pay much attention. The nurse running out antenatal class mentioned the benefits of attending a breastfeeding class prior to giving birth and I distinctly remember saying to my husband Ben ‘What kind of idiot goes to a breastfeeding class?’ I thought you’d just stick your baby on to your boob and off you go. If I can give one piece of advice to any expectant mothers it is get yourself to a breastfeeding class before you give birth!!! The Australian Breastfeeding Association runs fantastic ones, teaching you about different feeding positions, what a good latch looks like, what kind of difficulties your might face and how to overcome these (low supply, mastitis, blocked ducts etc) and so much more.
 
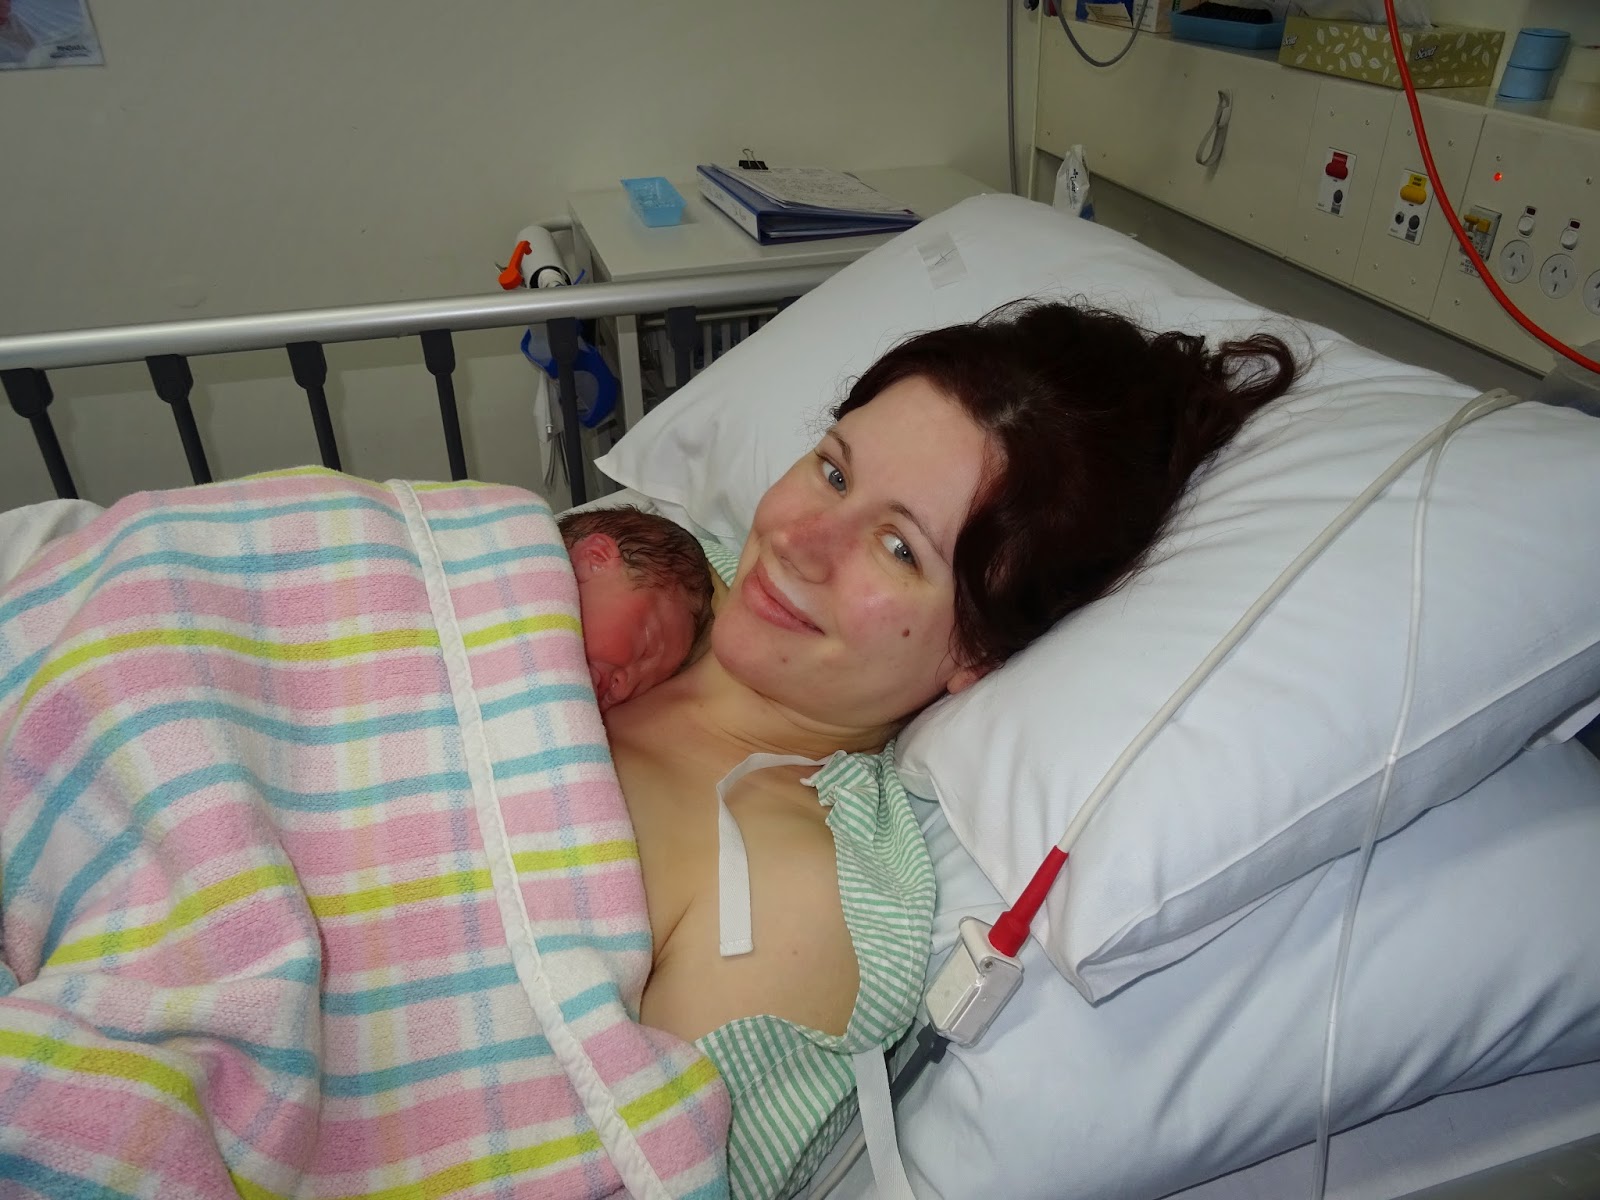
Harrison was born via emergency c-section @ 11.15am on Tuesday 5/8/14 after 19 hours of labour. He was put on my chest for skin-to-skin contact while I was in recovery however he wasn’t interested in latching and instead just went to sleep. He weighed 3.470kg (25th – 50th percentile) and was 51 cm long (50th – 75th percentile). We were in hospital for six days and had difficulty with feeding during the whole time, despite assistance from the midwives and lactation consultants. They would tell me Harrison needed to feed more often but he would sleep for 4-5 hour stretches and being a first time mum I didn’t realise I needed to wake him for feeds. His latch was horrible, resulting in him falling off often and causing me to have cracked nipples. Feeding sessions would often go for 45 minutes to an hour. We were discharged on Sunday 10/8/14 and Harrison weighed 3.333kg.
 
Harrison asleep in recovery, he looks so tiny looking back now.
 
We were so happy to be home and looking forward to getting into a routine. Alas, it was not to be. Monday afternoon I started to feel unwell with flu like symptoms. By the time Ben got home from basketball I was on the couch shaking with chills. A quick Google of symptoms revealed I probably had mastitis (which we would have known if I’d gone to a class) and after finding I had a temperate around 39C we headed back to the hospital. We spent three more days in hospital being treated with antibiotics, treating my boobs with heat packs before feeds and ice after. Harrison continued to have difficulty feeding and my nipples continued to crack and bleed. We were discharged on Tursday 14/8/14 and I said to Ben ‘Let’s try and make it longer than 36 hours at home this time’.
I should not have tempted fate. Friday night I was again having flu symptoms but luckily without the high fever this time. I had a Medcall doctor come out who said since I was still on antibiotics from the last bout they only option was to return to the hospital. I was beside myself, crying and telling Ben I couldn’t go back to hospital again as the staff would think I was a failure and a horrible mother. We agreed to go to our GP the following day instead and see if he thought hospital admission was necessary. Luckily, the GP opted to give me two MASSIVE shots of penicillin and continue with the antibiotics at home with instructions to go to hospital is symptoms worsened. He also took a blood sample to check on the infection.
A few days later I received a phone call from my GP, who assumed I had been admitted to hospital as the blood test results showed this second bout of mastitis was twice as bad as the first one. He was very surprised to hear we had stuck it out at home.
Our feeding troubles continued at home (blocked ducts, cracked nipples, poor latch) so I booked in to see a private midwife/lactation consultant on 20/8/14. At this appointment Harrison weighed 3.30kg, meaning he had lost weight since his discharge from hospital rather than gain it like he should have. We commenced a strict three hour feeding routine, in place 24/7. My life became all about watching the clock to make sure I was waking him up for these feeds. Given his feeds could take anywhere from 45 minutes to 1.5 hours I was not able to do pretty much anything else. The pain from the cracked nipples was excruciating, sometimes so much that I would cry out when Harrison latched. Ben could no longer bear to watch me feed because I was in so much obvious pain. My introduction to mummy-guilt was the fact that I dreaded having to feed my child.
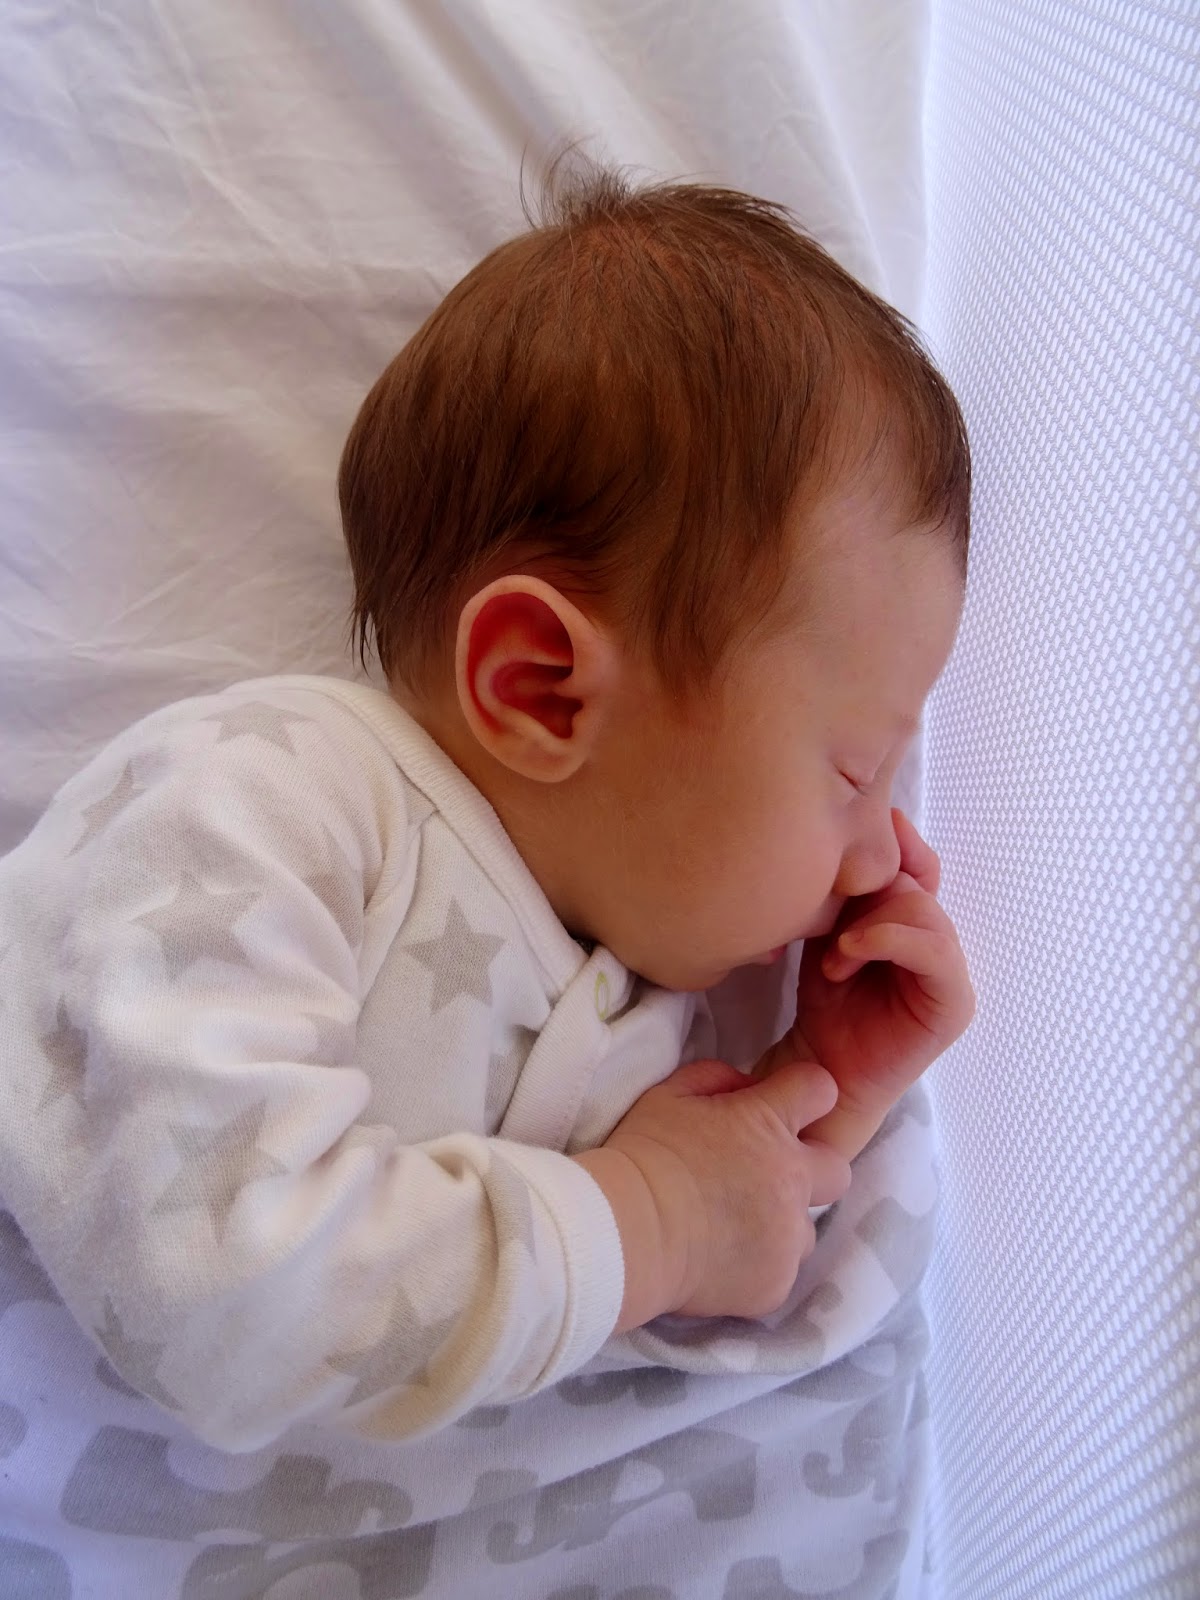
My sleepy bubba at 3 weeks old (26/8/14).
 
At 3am on Saturday 23/8/14, in tears, I hopped on the website for International Board Certified Lactation Consultants (IBCLC) in Australia and New Zealand (here) and emailed every IBCLC on the Gold Coast to see if they could do a home consultation that day as I just couldn’t deal with the pain any longer. I was so lucky to have Shona Cassels be the first one to respond. She came to see me and spent 2 hours going over history and helping me with Harrison’s latch. Most importantly though, she gave me back a bit of confidence in my ability to feed my baby.
I continued to have appointments with the midwife and Shona for the next few weeks and Harrison was slowly putting on weight. The six-week check up with the paediatrician came around on 18/9/14 and I told him I was still taking 45 minutes to 1.5 hours per feed and having to feed every 2.5-3 hours, resulting in spending 6-7 hours every day feeding. Harrison weighed 4.48kg (25th to 50th percentile) and was 57cm long (75th percentile). The doctor could see I was exhausted from this and said he would have expected Harrison to be growing much more quickly for the amount of time I was spending feeding. He recommended I put Harrison on formula or take Motillium to boost my supply if I was set on continuing to breastfeed and consider getting a sleep consultant in to set him up in a routine. I was distraught by this advice, seeing my inability to feed Harrison as an indication I was a failure as a mother.
I went to see my GP that day to get some Motillium and he said he’d never heard of the medication being used in that manner. He also questioned whether I was sure it was a low supply problem as that seemed at odds with having multiple bouts of mastitis and blocked ducts. Nevertheless, he still provided the prescription. I am thankful that he let me consider the matter without pressure from him.
I also went to see Shona the next day and told her the advice I had received. Luckily, she thought we could manage the feeding problems without going to formula. I had previously been letting Harrison feed for as long as he wanted on one breast only each feed. Shona convinced me to start limiting Harrison to 20 minutes on each side for each feed, so it would still take the same amount of time but hopefully he would be getting more milk. This was also the first time Shona raised the possibility of a tongue tie being at play as to the reason for the poor latch and cracked nipples.
The new feeding technique was a huge success. Harrison’s weight climbed rapidly, weighing 5.14kg at 8 weeks and 5.6 kg at 9 weeks. We continued to see Shona on a regular basis for continuing tips and improvements on his latch and slowly my nipples began to heal. It was so good to no longer have pain when feeding and actually be able to appreciate this special time with my son. Shona also recommended we see an infant osteopath to see if she could assist with the tongue tie issues, so we started these sessions too.
 
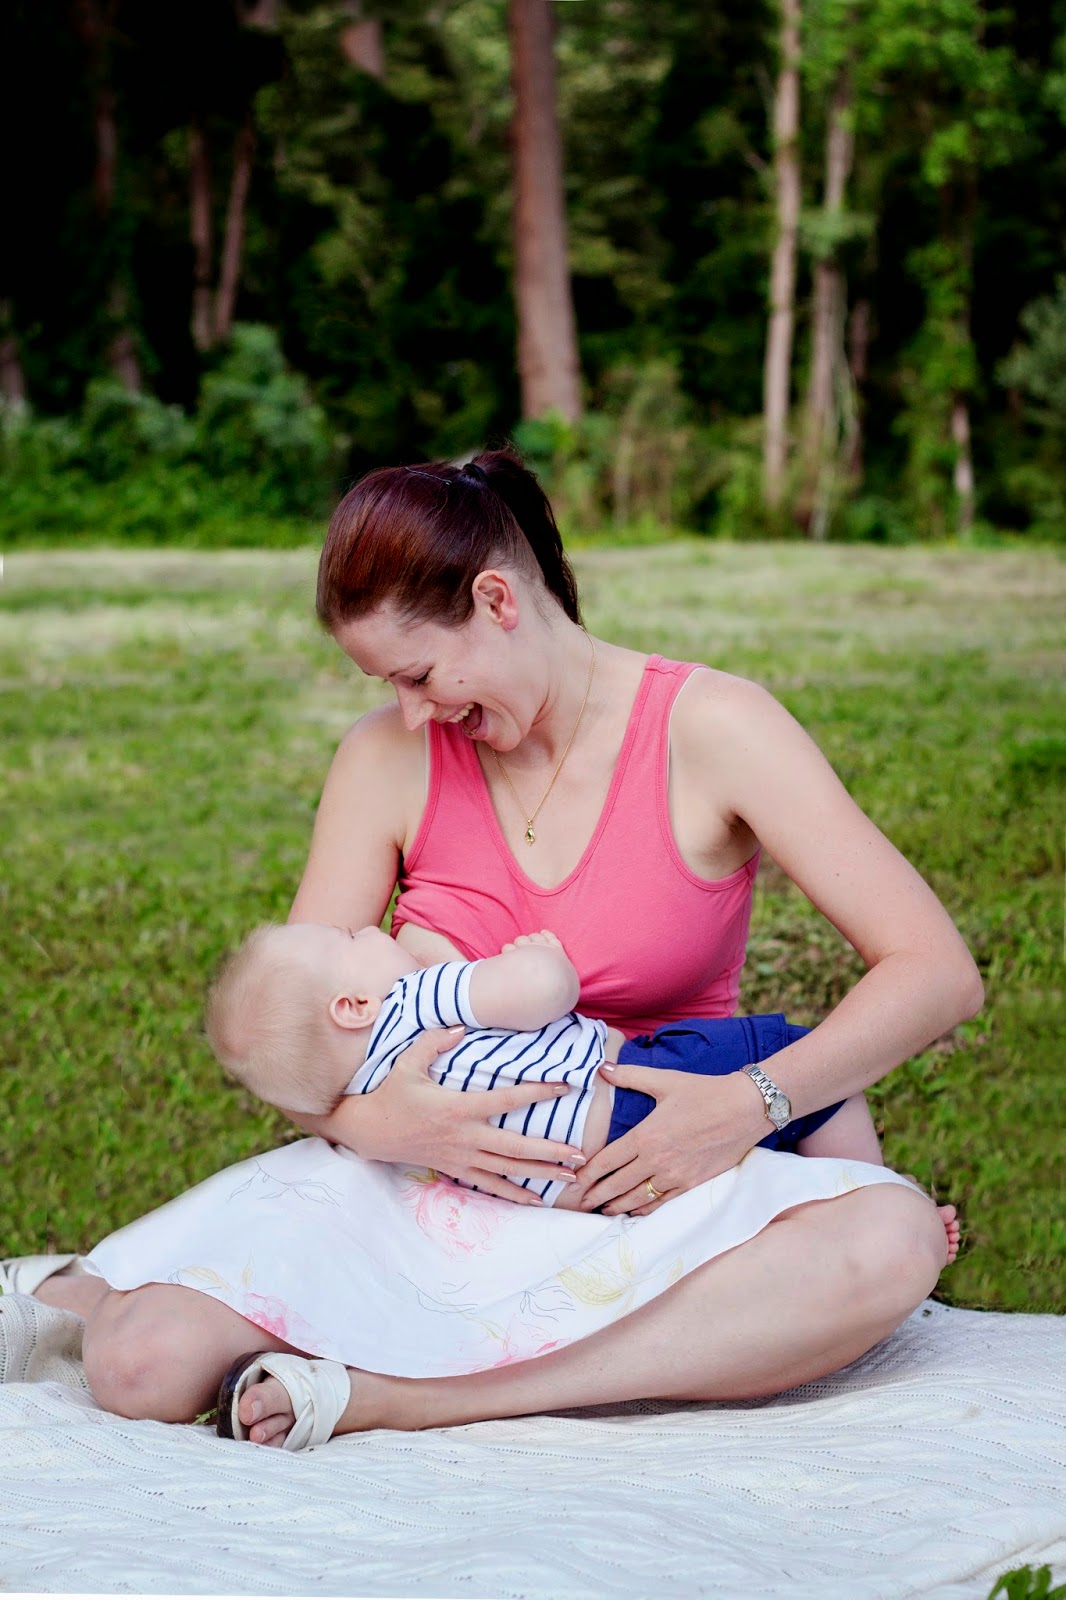
Progress shots taken at 2, 3 and 4 months.
By three months Harrison weighed around 7kg, meaning he had jumped up to the 90th percentile. It appeared Harrison and I had learnt to feed despite the tongue tie, but Shona noticed he still compressed my nipple and was concerned is might have caused restrictions would could be a problem when we eventually progressed to solids. We made the decision to visit a dentist in Brisbane to have the tongue tie revised through laser surgery. I was so nervous about this decision, as there was the possibility Harrison could need to learn how to feed all over again once his tongue tie was released and we had just reached a point where it was comfortable. I also didn’t want to cause any unnecessary pain to my baby. However, both Shona and the osteopath thought it was the best way to proceed. At the dentist we discovered Harrison also had an upper lip tie, so this was revised at the same time. We were not in the room while the ties were cut with a laser and he was distraught when he was brought in to us however he quickly latched and started feeding straight away with plenty of skin-to-skin contact. We had been warned Harrison might need pain relief in the days following but he was a trooper and didn’t appear to suffer any ill effects. Best of all, he continued to feed well and didn’t need any changes to his technique. We had to continue to do stretching exercise in his mouth for 21 days after the surgery to prevent re-attachment. We could quite quickly see the increased range of movement of his tongue.
At the four month check Harrison weighed 9.3kg and was 69.5cm long, both of which are above the 97th percentile. I think it was around this time I really felt I had found my groove as a parent. We were into a good little weekly routine, I was used to the lack of sleep and feeding was no longer an issue.
By our six month check Harrison weighed 11.2kg (97th percentile mark for this age is 10kg so he is WAY over) and was 73cm long (97th percentile). We are excited about starting solids now and at this stage plan to continue complementary breastfeeding for another six months. While I’ve mentioned a number of professionals who assisted me in my breastfeeding journey, the one person I couldn’t have done this without is definitely my husband Ben. Whether it was his encouragement to keep going when I needed it, bringing me food and drink while I was feeding, his conversation during those hours stuck sitting in the one space or even the time he purchased formula on the way home from work when I broke down after a particularly horrendous day and then just tucked it into the pantry when I advised I’d changed my mind by the time he made it home. I know I would never have made this milestone without him and I’m so grateful to him for his assistance.
 

Wednesday 4 February 2015

High Tea Invitation - Couture Creations

Welcome back! Lauren here with a High Tea Invitation card to share with you today. The Vintage Rose Garden paper collection is just perfect to create a shabby chic invitation card with.


1/ Cut off-white cardstock to size, I used 10" x 6". Fold in half to create your card base.
2/ Cut the green background paper to a size slightly smaller than your card base and the pink background paper slightly smaller again.
3/ Ink the edges of both background papers with a brown ink pad and then distress. Adhere to the card with double sided tape.
4/ Die-cut the leaf frame from green patterned paper and adhere to the pink paper using adhesive spray.
5/ Paint the tag of the tea-bag with gesso and set aside to dry. I needed to use a couple of coats on mine.
6/ Tie a bow in a length of lace and adhere to your card near the bottom. I used double sided tape to keep the loops in place too.
7/ Scatter pearls around the card, using two colours and multiple sizes for interest.
8/ Cut your sentiment word and attach to the teabag. Adhere the teabag to the front of your card.
9/ Give invitation to your proposed high tea companion and enjoy a wonderful day out together! :)

Couture Creations Materials List:


http://lozcraft.blogspot.com

Monday 2 February 2015

2015 Couture Creations Design Team Call

I'm still working on my secret project (which is coming along nicely so far) so no art to show at the moment, but I do have something exciting to share. Couture Creations is looking for a new design team!

Do you love creating with Couture Creations Embossing Folders and Dies?
Do you love creating fun and innovative projects?
 
Do you have an active blog?
Are you active on Social Media?
Do you take fabulous photographs and write great steps by step instructions?
If you said YES to all of the above we would love you to apply join our 2015 Design Team …we are looking for a new Design Team to represent our brand with fabulous projects that make Couture Creations products the star of the show.

If you are successful your commitment to our Design Team will be for a FULL 12 MONTHS and will run from April 2015 through to March 2016.

Benefits to you for being on our team include:
 
  • Receive a generous starter kit filled with Couture Creations products including tools and adhesives.
  • Receive Couture Creations new releases before they are released
  • Product from other companies that we will be partnering with throughout the year.
  • Exposure on our blog and through our International Distributors.
  • Exposure in our Creative Inspiration Magazine (this is our FREE Magazine that goes to all stores stocking our products internationally and is also available online)
  • Have your projects displayed at Craft Shows including CHA
  • Possible Teaching opportunities.
 
What we require from you: FULL 12 MONTH COMMITMENT 
with
  • 2 posts per month posted on our blog with step by step instructions, product list and photos. These can be  Layouts, Cards, Mini Albums, Off the Page or Home Décor projects, you can mix it up or do what you are most comfortable doing. (You will need to send through the HTML code for your blog posts by the 1st of each month)
  • 4 Projects with full product list (and if needed step by steps) for our Creative Inspiration Bi Monthly Magazine, these will need to be posted to us to be professionally photographed. (so 4 projects every two months for the magazine)
  • Take part in Blog Hops with our partnering companies.

  • In the lead up to CHA we will ask for extra projects for display on our stand at CHA.


How do you apply?

Email kerrie@artdecocreations.com.au by midnight Sunday 15th February 2015 AEST including the following;
* Full contact information (name, address, contact number, email address, web/blog address)
* Tell us a little bit about yourself and what you think are your design strengths
* Tell us why you would enjoy being part of our design team
* Let us know if you have been on or are now in any other design teams.
* On your blog, create a post including a minimum of 5 projects that you have created using Embossing Folders and Decorative Dies preferably using Couture Creations products, this way we can see how creative you are with our products. If not Couture Creations products please make sure you do use embossing folders and or decorative dies in your projects we want to see how creative you are using these product lines.

***You must send a direct link to your audition post in your email to us.
*They do not have to be new projects but we will also be looking at your photography skills as well as tutorials on your blog.

Title the post “Couture Creations 2015 Design Team Audition”
 
(You must have an online presence to audition for our design team)
 
We ask that our designers have a dedication to our brand and would like applicants to NOT be serving on more than 3 design teams and on no design teams that have similar products to us for the duration of your term.

Depending on how many entrants we have we may also introduce a final round, but entrants from this first round will be chosen by the 22nd Feb 2015 and notified via email..

Due to tight deadlines this year our design team call this year is open to Australian Designers only.

We will announce our 2015 Design Team on the 1st March.  

Please do share this post with anyone you think maybe interested in joining the 2015 Couture Creations Team.